Remote Desktop from a Mac
- chb04011 (Deactivated)
- David Paquette
This guide is for downloading, installing and configuring Microsoft Remote Desktop on Mac OS. After completing this guide, you will be able to connect to a remote Windows PC using your Apple laptop or desktop.
Step 1: Install Microsoft Remote Desktop 10
On your Mac, open the App Store by navigating to your applications and clicking the App Store Icon.
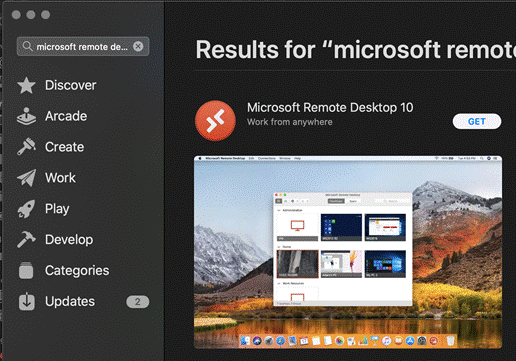
In the App Store, search for ‘Microsoft Remote Desktop’.
Click ‘Get’ and then ‘INSTALL’ to install the latest version of Microsoft Remote Desktop 10. You may be prompted for your AppleID password. This account is your Apple account, not your UConn or Business account. Microsoft Remote Desktop 10 is free and will not be charged to your Apple account.
Step 2: Launch Microsoft Remote Desktop 10 and Add a Connection
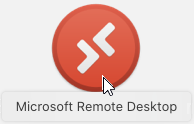
Launch Microsoft Remote Desktop 10 by double clicking the icon in your Applications folder or the ‘Open’ button in the App store.

Click ‘Continue’ and allow Microsoft Remote Desktop 10 to access your camera and microphone.
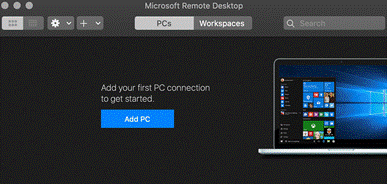
Click ‘Add PC’ to add a new connection.
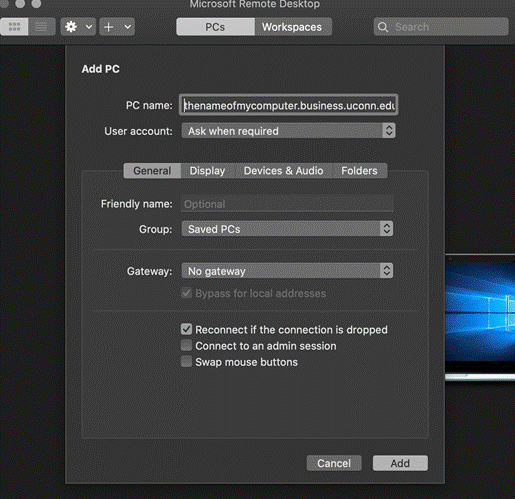
A new screen will pop up. Enter the name of your computer in the PC Name field. Your computer name will be approximately 15 letters and numbers, followed by ‘business.uconn.edu’. If you are unsure of your computer’s name, please contact the BUSN IT Helpdesk.
Click ‘Add’
Step 3: Connecting to your PC
Double click the new entry on the Microsoft Remote Desktop 10 app to connect to your newly added PC.
Enter your BUSINESS username and password, the click Continue. You should now be connected to your desktop remotely. If you are unable to connect, please contact the BUSN IT Helpdesk.
Related articles
Related content
For more help, please contact our helpdesk at busn.help@uconn.edu