This guide is still being completed. |
Creating and Capturing a WARC
There are a number of software options available for creating WARC files that can be added to the repository.
You can find a list of software on this GitHub site.
You can find some software we recommend in the Documenting Outbreak 2020: Web Archiving story.
Adding a WARC
Log into manage.ctdigitalarchive.org.
Navigate to the collection to which you want to add your WARC.
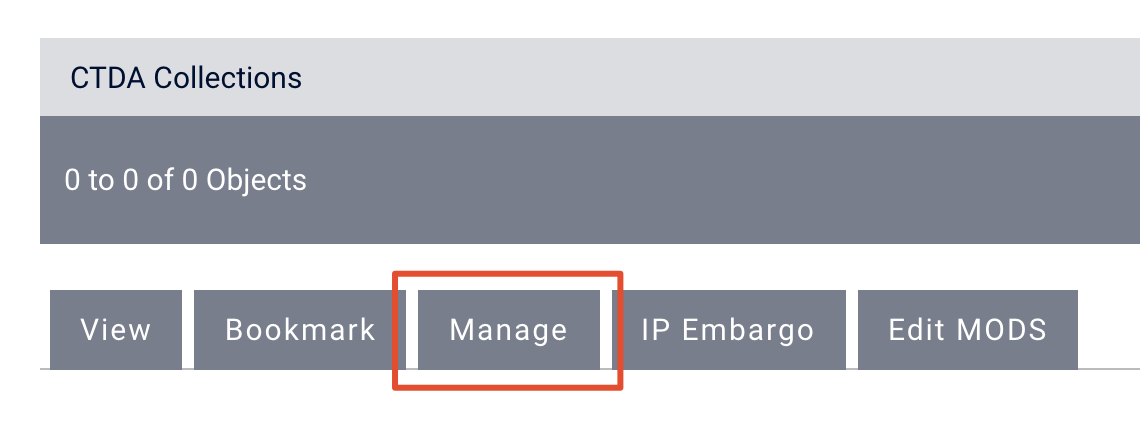
Click the "Manage" tab.
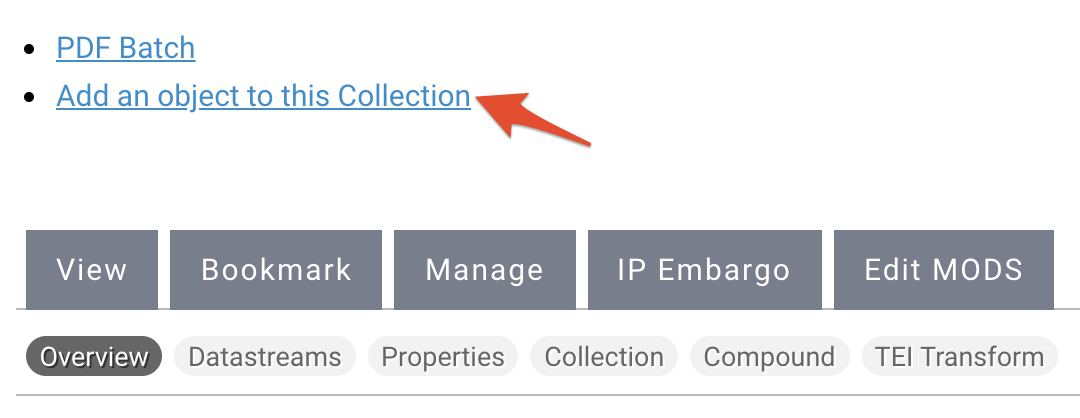
Under "Overview", select "Add an object to this Collection".
Select "Islandora Web ARChive Content Model" from the "Select a Content Model to Ingest" dropdown menu and click "Next".

If you do not see the content model you are looking for, it may not be a part of your collection policy. You can add a content model to your collection policy by following the steps in this guide.
Select the MODS form you want to use.

Please select the correct MODS form you wish to use, as the different forms have defaults built into them. Most CTDA users, including users managed by Bibliomation, should use the CTDA Collection MODS Form or the CTDA Item MODS form. Users from University of Connecticut and the Connecticut State Library should select the appropriate MODS form for their object.
You will be taken to the CTDA MODS form.

The CTDA MODS Form has a number of required fields that you need to fill out, but you should try to be a thorough as possible and fill out as many fields as you can when describing your object. To learn more about the CTDA MODS Form, see the Describing Your Objects Guide.
The first required field you need to populate is the title of your file.

The next required field is the "Resource Type", which should be set to "mixed material".

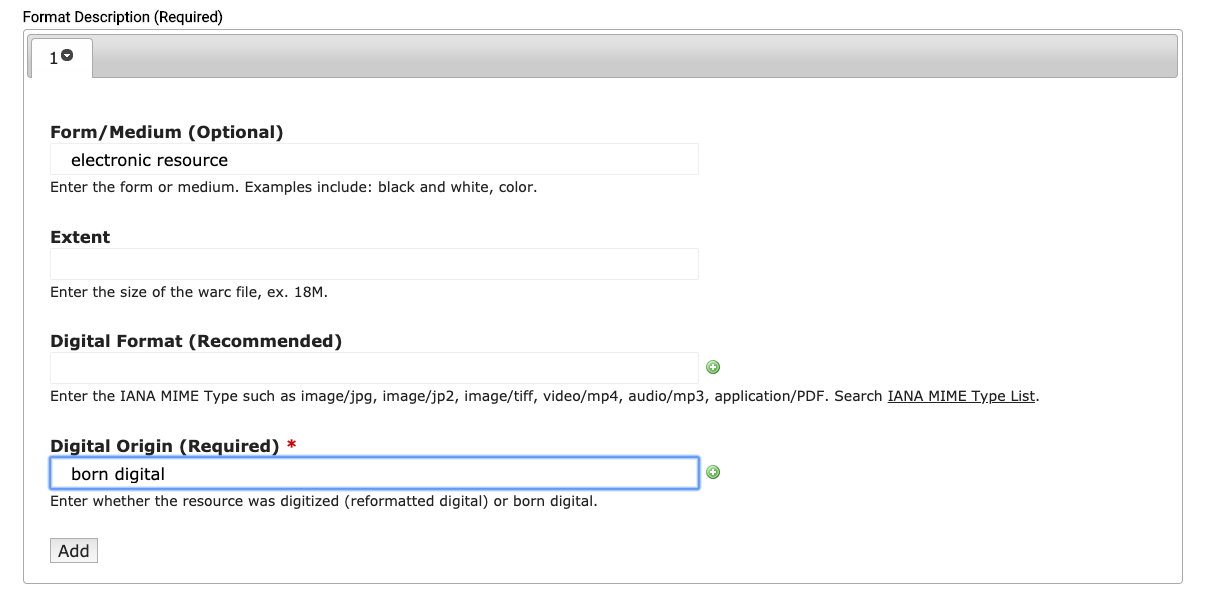
The third required field in the form is "Digital Origin". You should leave "born digital" in this field.
The fourth required field is the "Held By" field. Select your institution from the dropdown menu.

If your institution does not appear in the dropdown menu under "Held By" please contact CTDA at ctda@uconn.edu to inform us that your institution is missing.
The final required field is the "Rights" field. Choose your institution from the dropdown menu. If you do not have a customized rights statement, select "Creative Commons NC-BY".

Click "Next" and the next page is where you will upload your object.
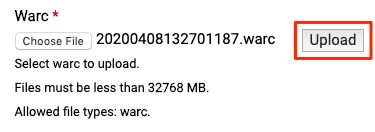
Click "Choose file" and find the WARC file you want to ingest.
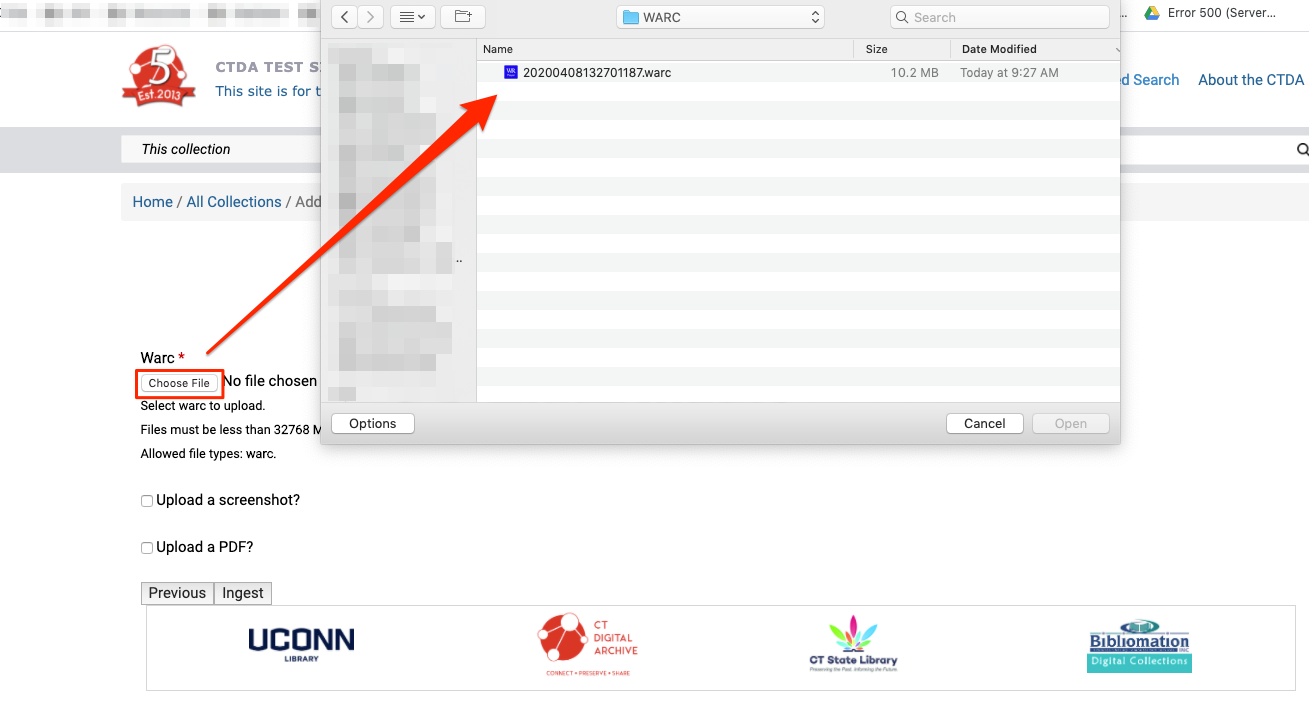
Once you have chosen your file, click "Upload".
You can also add a screenshot to the website file for users to view in the repository.
Depending on the file size, the upload can take a few moments to a few minutes. Do not click "Back" or "Refresh" while the upload is taking place.
Finally click "Ingest".
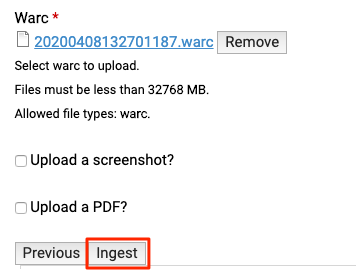
Depending on the file size, the ingest can take a few moments to a few minutes. Do not click "Back" or "Refresh" while the ingest is taking place.
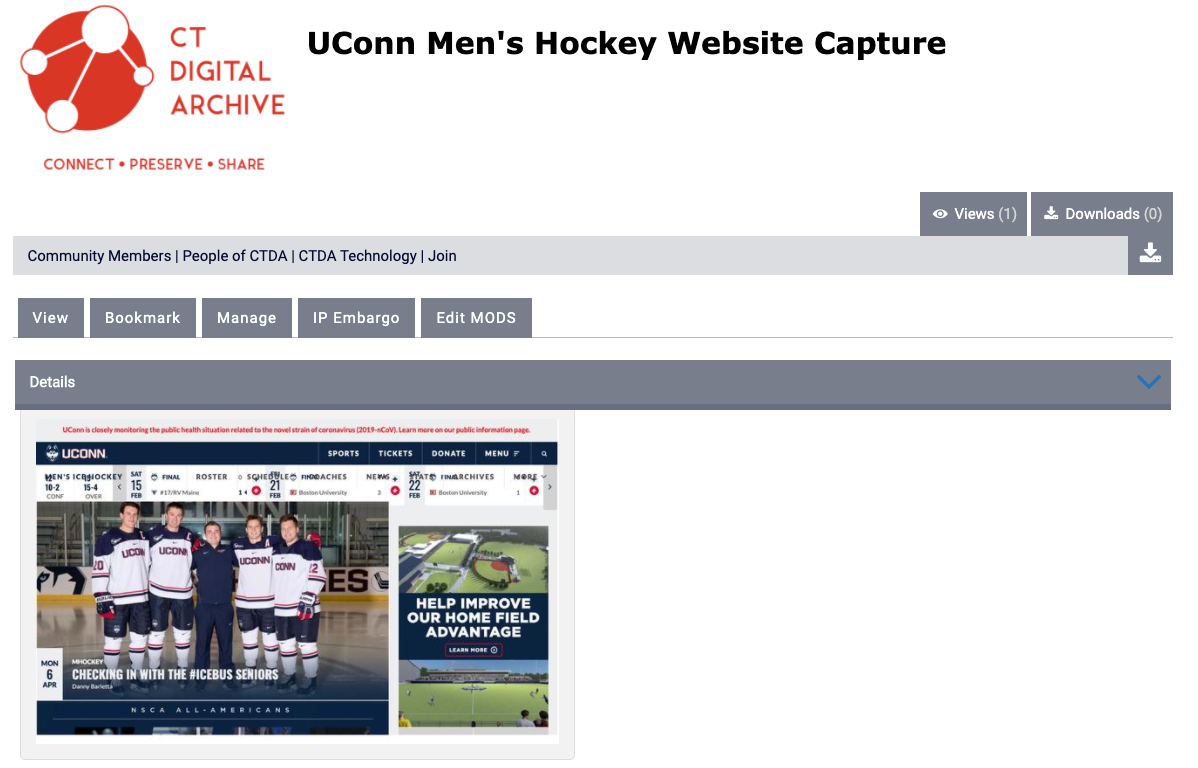
After your WARC file has been ingested, you will be taken to the page containing your file. From this page you can manage your object.
Manage Your ObjectTo learn how to manage your object, visit the Managing Objects in the Repository Guide. |
Viewing a WARC
WARCs cannot be viewed in internet browsers in the repository at this time. What we recommend is that your users download WARC files from the repository and open them on their local machines using software to render WARC files. One software that is easy to install and use is the Webrecorder Player. Visit their site to learn more.