
| Panel | |
|---|---|
|
| |||||||||||||
Ingesting a book is a two step process. The first step involves creating a container for the pages of the book by ingesting the "Islandora Internet Archive Book Content Model", and the second step involves ingesting book page images into the Internet Archive Book object. There are numerous ways to ingest books into the repository, but CTDA recommends the following process as the easiest. |
| Note |
|---|
In order to ingest books, you need to enable the Content Models in the collection policy of the collection object where the book will reside:
See the Choosing Content Models Guide for information about enabling Content Models. |
| Panel | ||||||||||||||
|---|---|---|---|---|---|---|---|---|---|---|---|---|---|---|
| ||||||||||||||
|
Setting up the Internet Archive (IA) Book Viewer
Log in to manage.ctdigitalarchive.org.
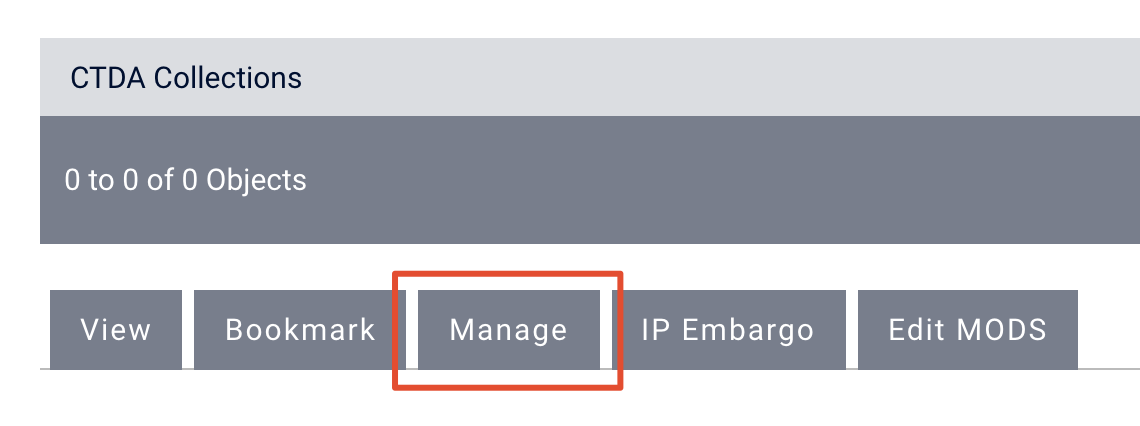
Navigate to your collection on the CTDA Manage site.
Click the "Manage" tab.

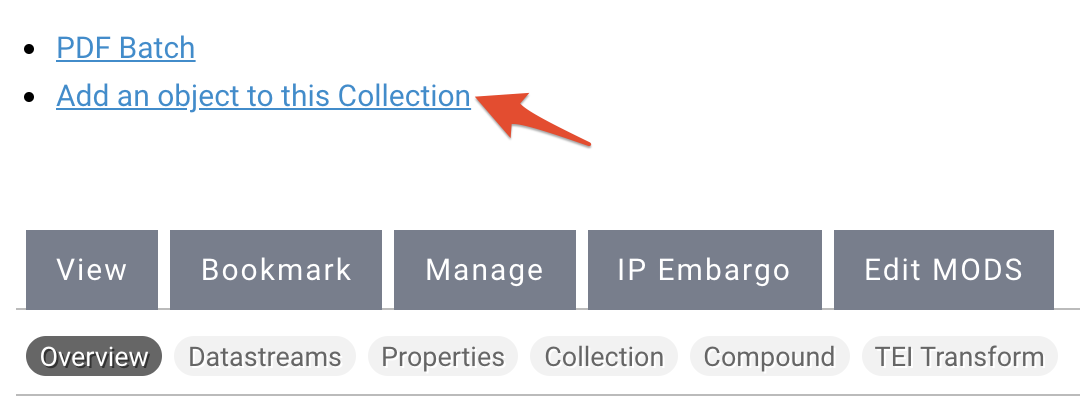
Click "Add an object to this collection".

Select "Islandora Internet Archive Book Content Model" from the "Select a Content Model to Ingest" dropdown menu and click "Next".

Info If you do not see the content model you are looking for, it may not be a part of your collection policy. You can add a content model to your collection policy by following the steps in this guide.
Select the MODS form you wish to use.
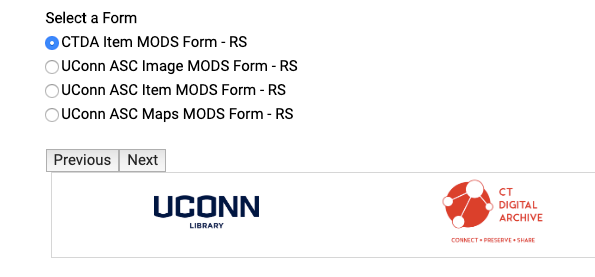
Info title Choosing your MODS form Please select the correct MODS form you wish to use, as the different forms have defaults built into them. Most CTDA users, including users managed by Bibliomation, should use the CTDA Collection MODS Form or the CTDA Item MODS form. Users from University of Connecticut and the Connecticut State Library should select the appropriate MODS form for their object.
You will be taken to the CTDA MODS form.

Info title CTDA MODS Form The CTDA MODS Form only has five required fields. But you should try to be a thorough as possible and fill out as many fields as you can when describing your object. to learn more about the CTDA MODS Form, see the Describing Your Objects Guide.
The first required field you need to populate is the title of your book.

The next required field is the "Resource Type", which should be "text".

The third required field in the form is "Digital Origin". You should leave "reformatted digital" in this field.

The fourth required field is the "Held By" field. Select your institution from the dropdown menu.

The final required field is the "Rights" field. Choose your institution from the dropdown menu. If you do not have a customized rights statement, select "Creative Commons NC-BY".
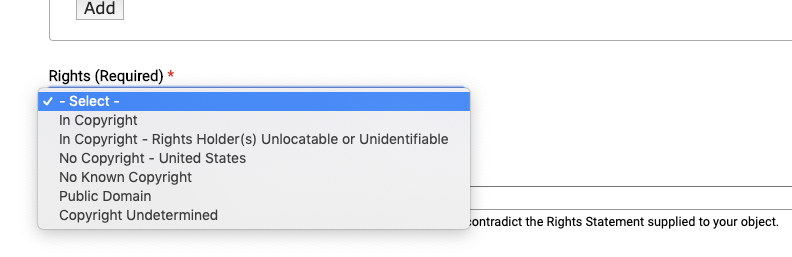
Info title Rights Statements The default rights statement is set to the Creative Commons NC-BY 4.0 which states: "This work is licensed under a Creative Commons Attribution-NonCommercial 4.0 International License, CC BY-NC." To learn more about Creative Commons licenses, visit https://creativecommons.org/.
If you have a custom rights statement, please send the text to us at ctda@uconn.edu.
Click "Next" and the next page is where you will upload your object.
You now have the option to upload PDF pages, but we recommend that you do not upload your pages at this point (see Adding Page procedures below).
Scroll down to the bottom of the page select the language of the book and click "Ingest".

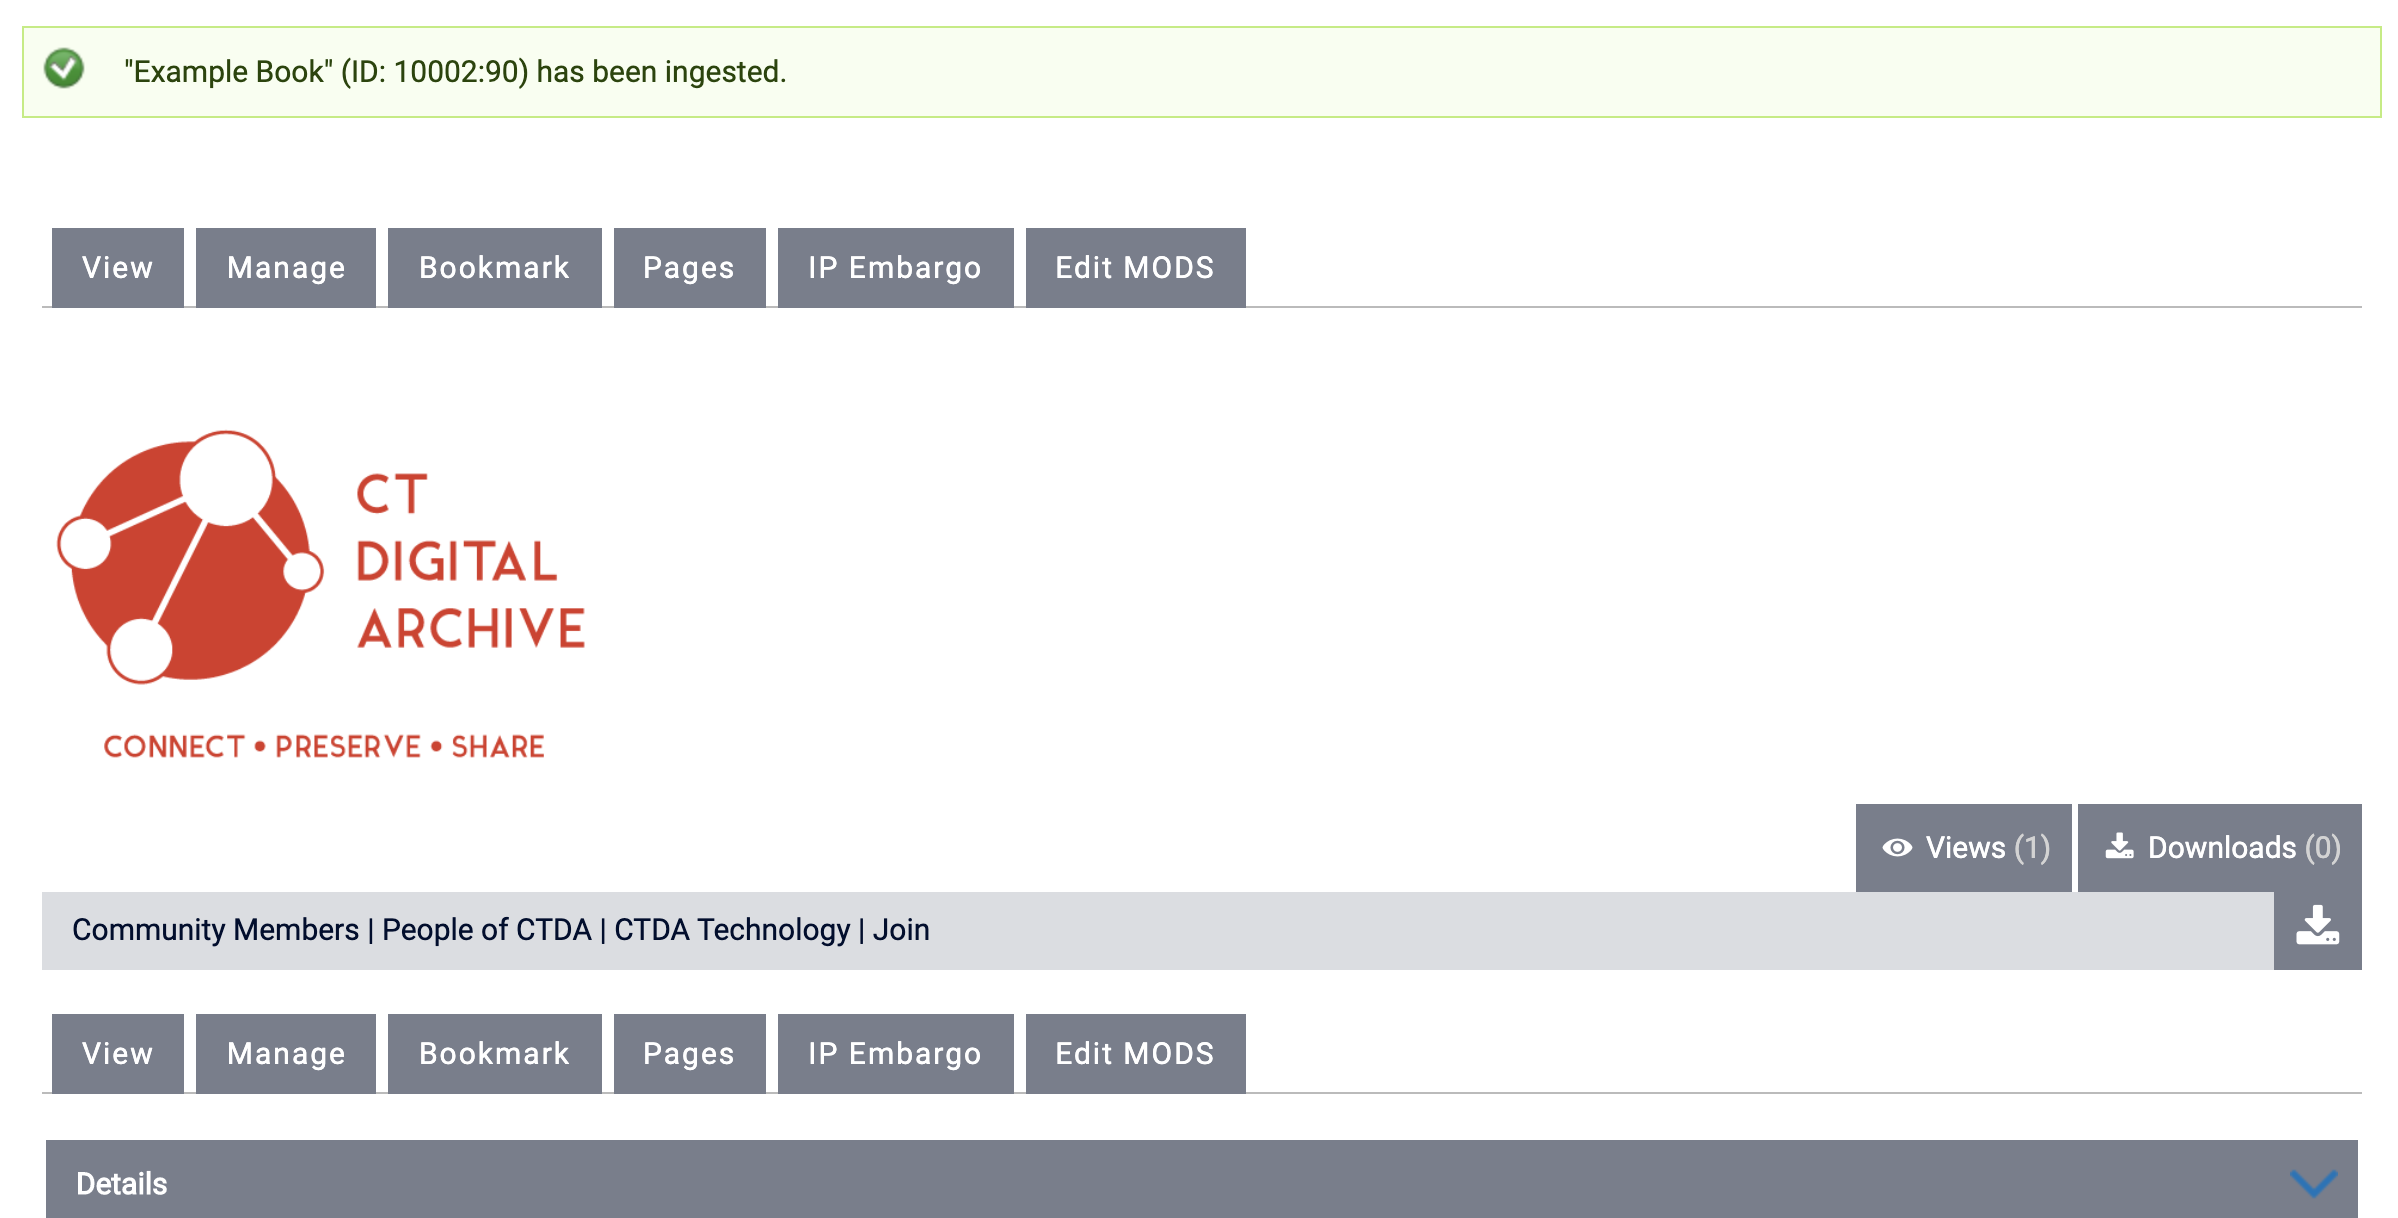
Once ingest is completed, you will be taken to the Book viewer. From the Book viewer, you can add pages into the book and manage the book object.

Adding Pages
| Anchor | ||||
|---|---|---|---|---|
|
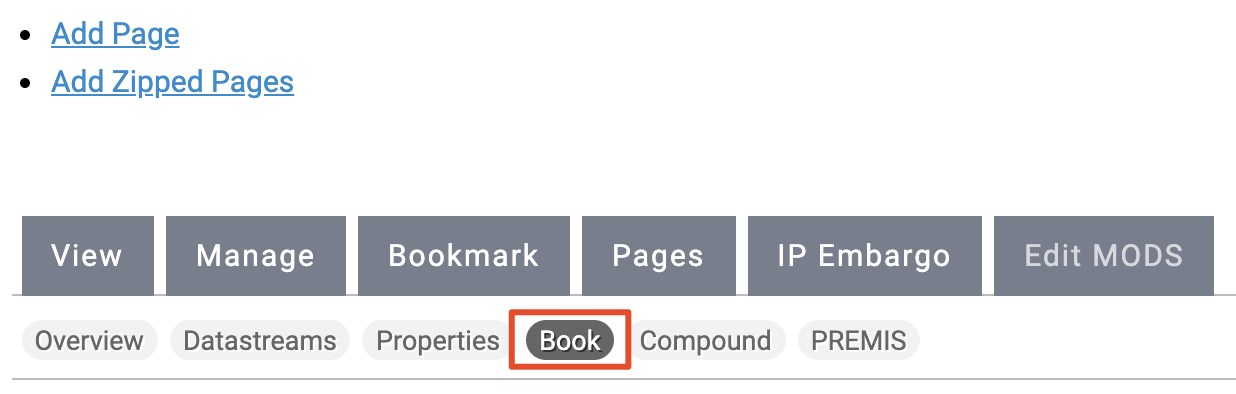
Once your Book Object has been ingested click the "Manage" tab on the page containing the book viewer.

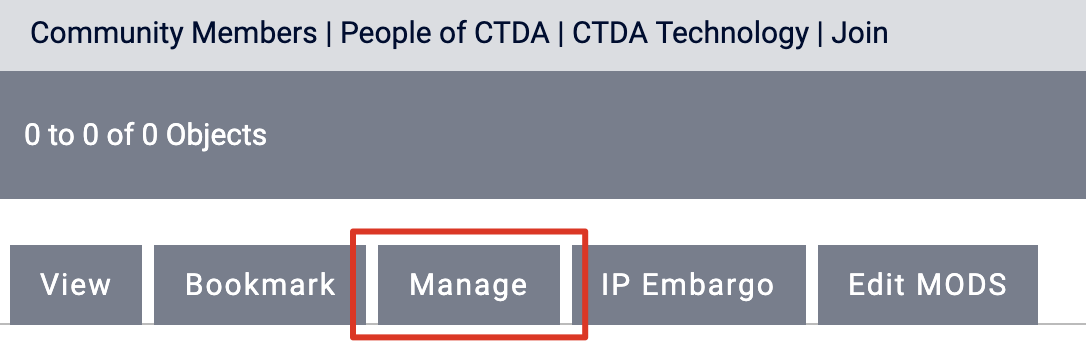
Click "Book".

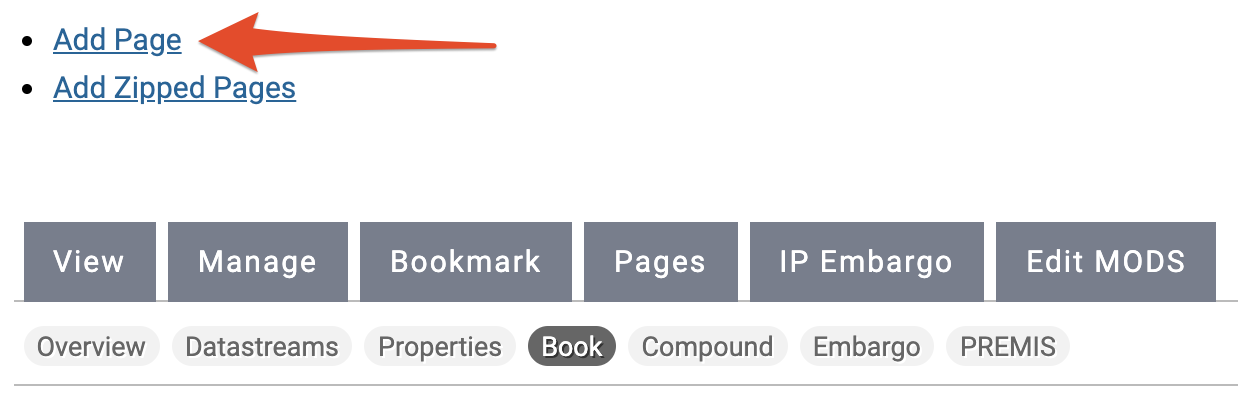
Select "Add Page".
Select the MODS form you wish to use.

Fill out the MODS form and click "Next".
Click "Choose file" and find the page image file you want to add to the book.

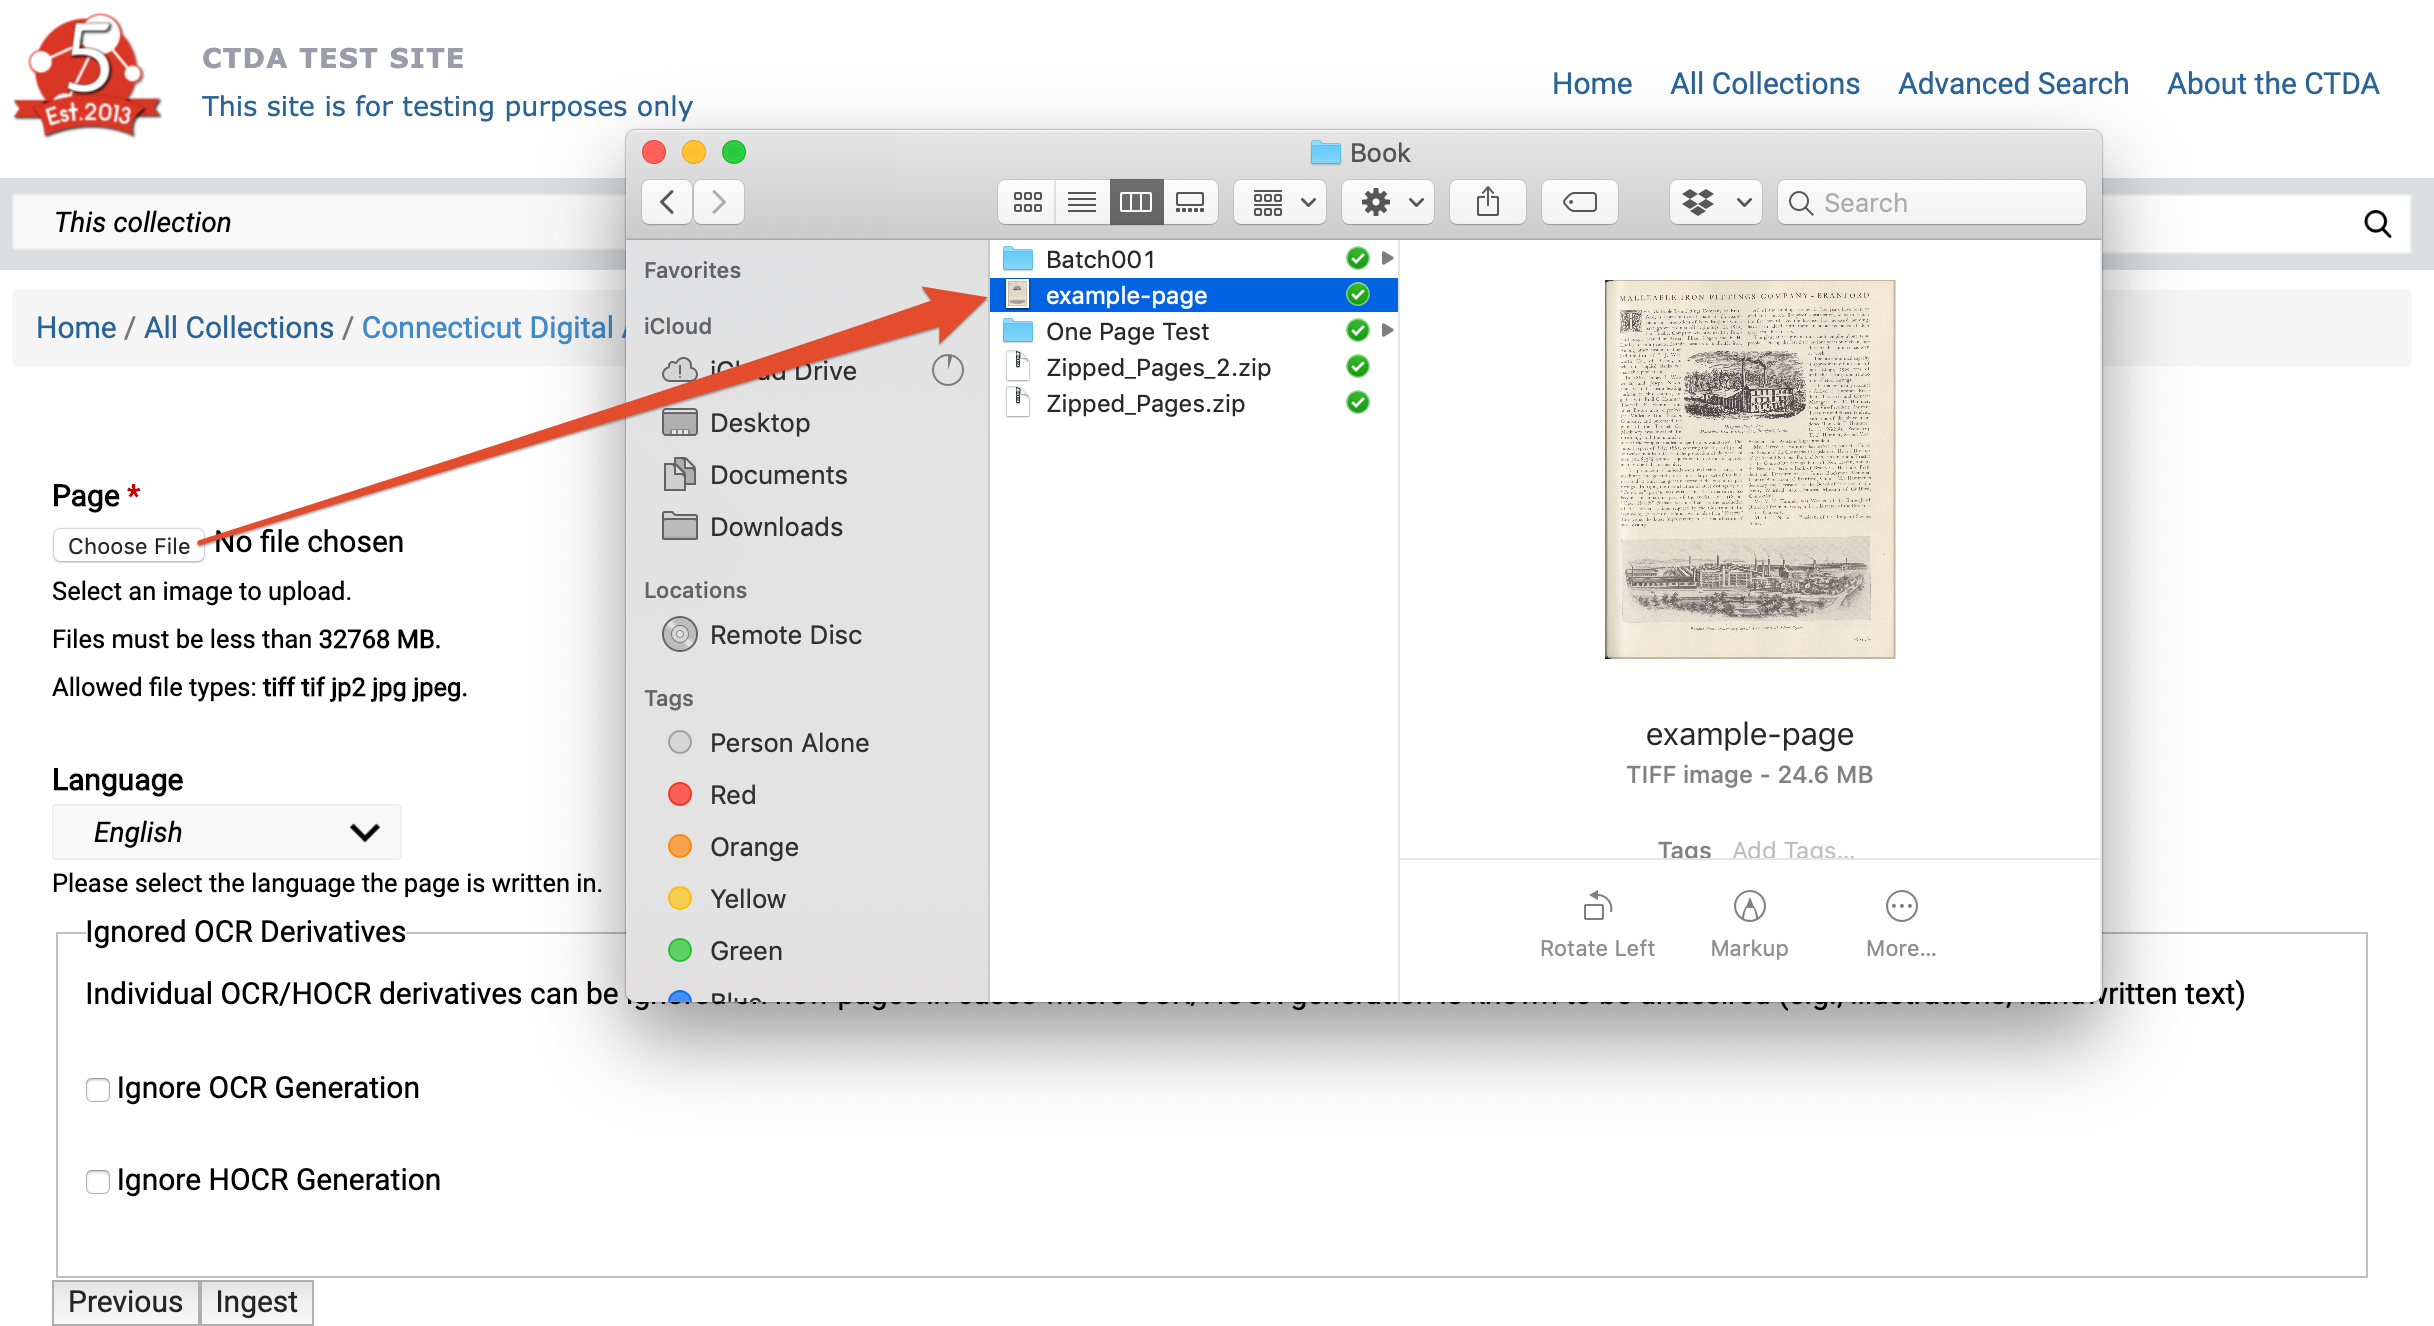
Once you have chosen your file, click "Upload".
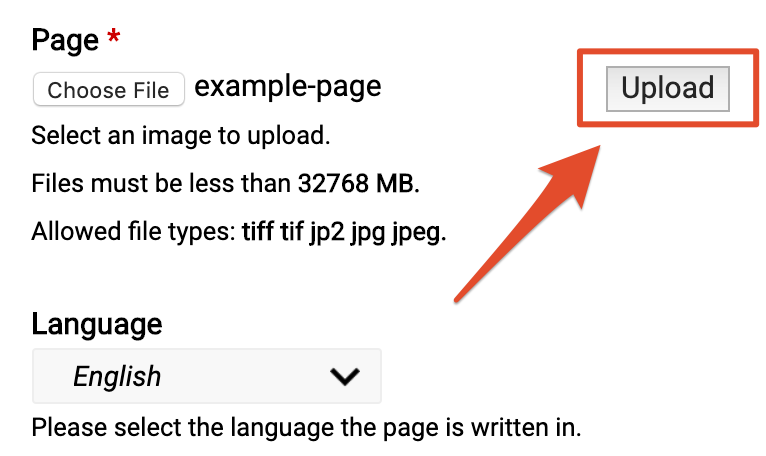
Note Depending on the size of the page file, uploading can take anywhere from a few seconds to a few minutes.
Finally choose the language of the text in the page image click "Ingest".
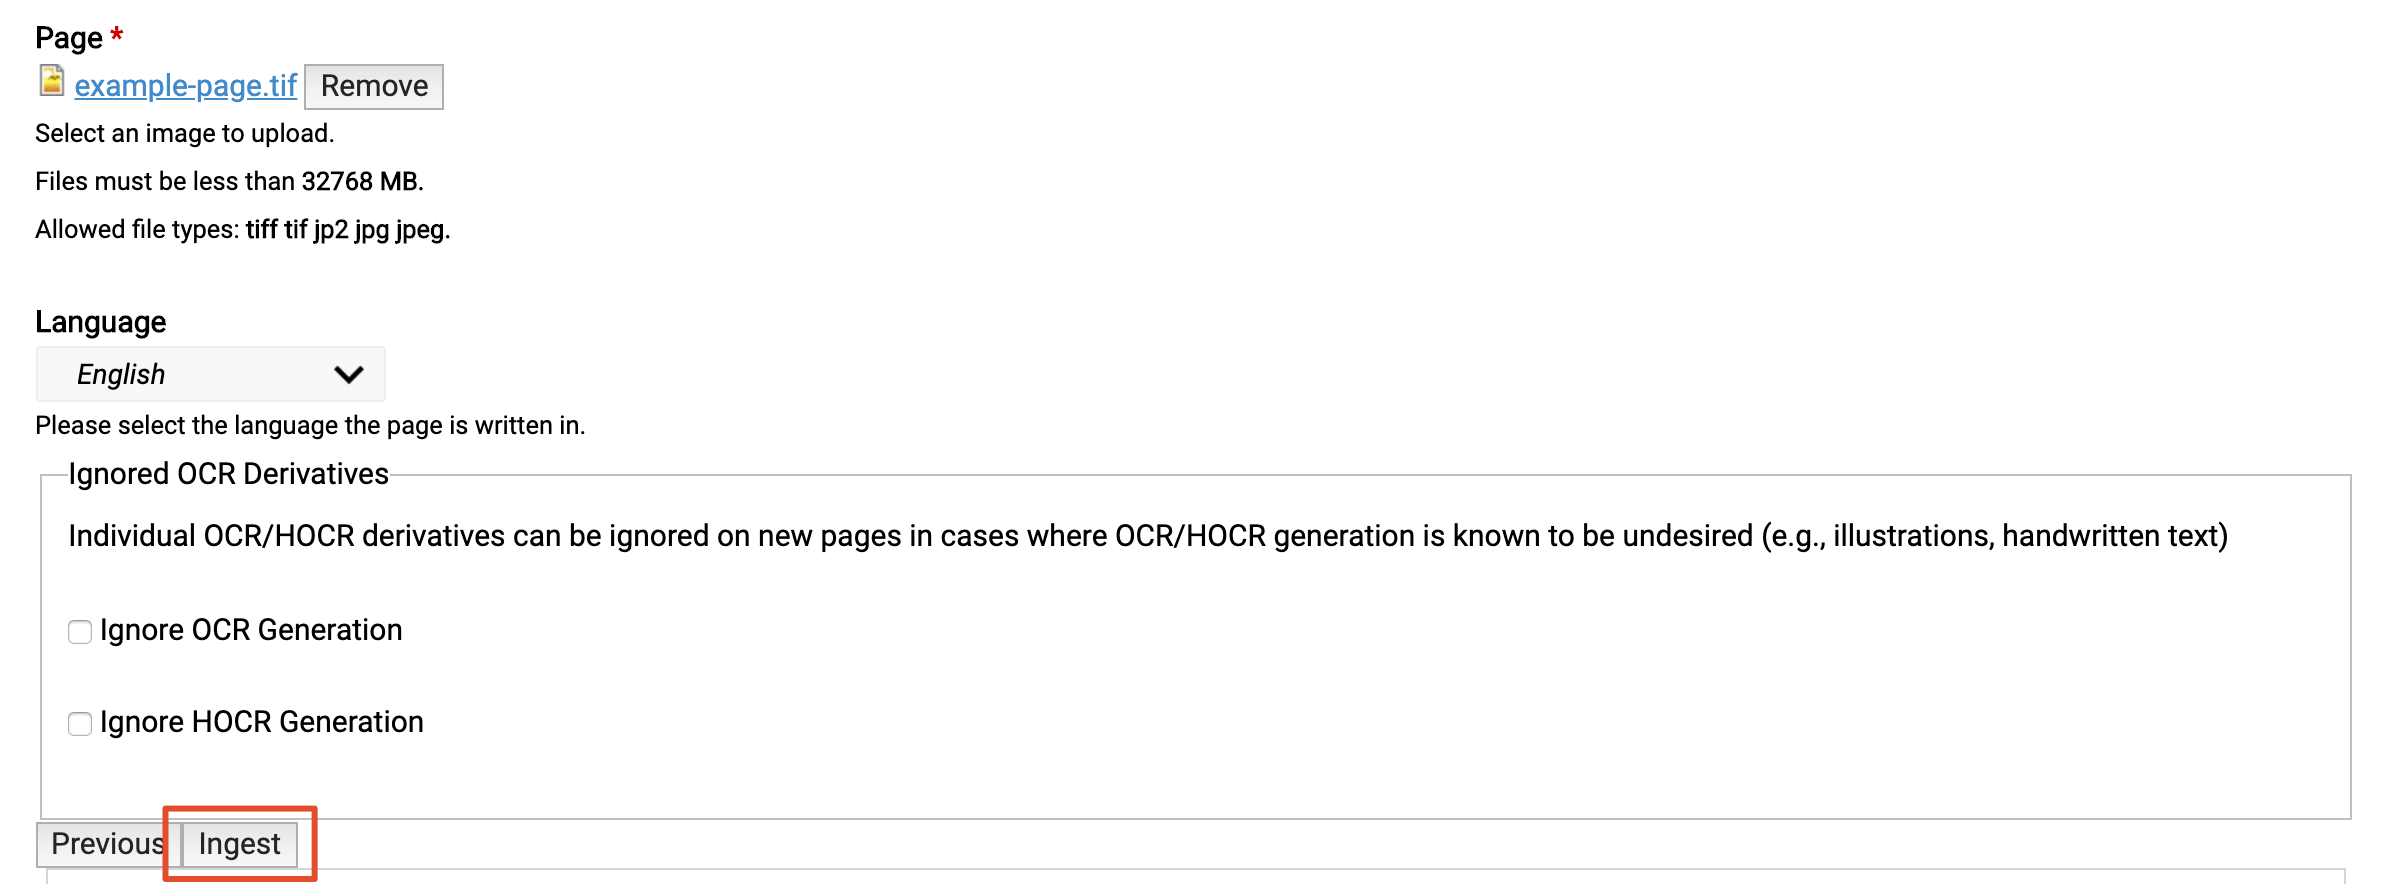

After your page image file has been ingested, you will be taken to the page displaying your file.


Adding Pages Using Zip Files
| Anchor | ||||
|---|---|---|---|---|
|
Once your Book Object has been ingested click the "Manage" tab on the page containing the book viewer.
Click "Book".
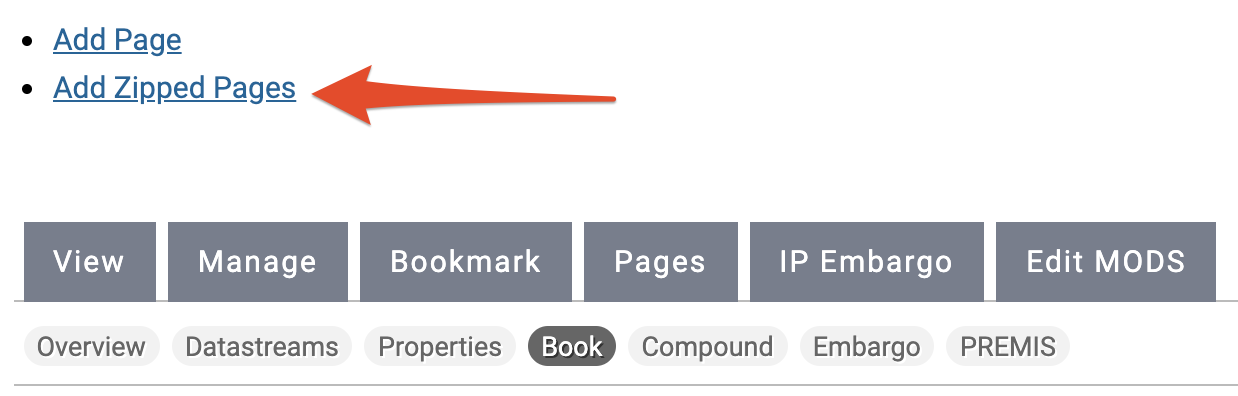
Click "Add Zipped Pages".
Click "Choose File" and find the zip file you wish to add. Click "Upload".

Choose the language of the book from the dropdown menu.

Click "Add files".

Tip title File Formats The folder must be a .zip file to be uploaded. The pages contained in the .zip file can be .jp2, .jpeg, or .tiff files.
Click here to learn how to create zip files on a Windows computer.
Click here to learn how to create zip files on a Mac computer.
Note title Upload and Ingest Time Depending on the file size, the upload can take a few moments to a few minutes. Do not click "Back" or "Refresh" while the ingest is taking place.
A status bar will appear while your pages are added to the book. This status bar shows the progress of each individual page file being added to the book.

Note Depending on the size and number of files contained in the zip file, the ingest process can take a few minuets to a half an hour in some cases. Do not click "Back" or "Refresh" while the ingest is taking place.
When completed, your pages should appear in the IA Book viewer.


Adding Multiple Zip Files to a Book
Since the maximum file size of a zip file that can be uploaded to a book is 2GB, you may need to upload large books in multiple zip files.
After you upload your first zip file (see above) to your book, return to the book viewer and click the "Manage".


Select "Book".

Click "Add Zipped Pages".

Choose the language of the book from the "Language" dropdown menu.
The "Last Sequence Number" will display the number of pages currently in the book. We recommend that you do not change the number in the "Last Sequence Number" field.

Warning title Changing the "Last Sequence Number" Changing the last sequence number will result in the new individual page files being placed in between individual pages already in the book causing the pages to appear out of order. If you have uploaded a large book out of sequence, it is easier to keep uploading the zip files without changing the "Last Sequence Number" and manually reorder the pages after all of the files have been added to the book. To learn how to reorder book pages, see the Managing a Book Guide.
Next click "Choose file" and locate the zip file you want to add.
Once you have found your file, click "Upload".

Note Depending on the size and number of files contained in the zip file, the upload process can take a few moments to a few minuets. Do not click "Back" or "Refresh" while the ingest is taking place.
Once the zip file has finished uploading, click "Add files".
A status bar will appear while your pages are added to the book. This status bar shows the progress of each individual page file being added to the book.

Note Depending on the size and number of files contained in the zip file, the ingest process can take a few minuets to a half an hour in some cases. Do not click "Back" or "Refresh" while the ingest is taking place.
When completed, your pages should appear in the IA Book viewer.

Adding Books Using the Spreadsheet Ingest Module
Users can now add newspapers to the repository by using the spreadsheet ingest module.
Please review the steps you need to take to connect to the CTDA network and servers prior to using the module.
Book objects can be added using the Standard Template or the Linked Data Template.
Spreadsheet Specifications for Book Pages
In the "isPageOf" and the "parent_object" columns, enter the PID of the book to which you are adding the book pages.
In the "parent_predicate" column, select "isMemberOf" from the dropdown list.
In the "isPageNumber" and "isSequenceNumber" columns, enter the page number of each page image in the order you want them to appear in the book.
In the "cmodel" column, select "islandora:pageCModel" from the dropdown list.
After you have filled out the appropriate columns in your spreadsheet, return to the Ingest Workflow guide to continue the spreadsheet ingest process.
Managing Your Book
Reordering Pages
Log in to manage.ctdigitalarchive.org.
Navigate to your book and click the "Manage" tab.

Click "Book".

Select "Reorder Pages".

The pages will appear in two columns, side-by-side, and display 10 pages per column by default. You can drop and drag pages in the same column and in between columns.

Scroll down to the bottom of the columns and you will be able to view more pages by clicking on the number list at the bottom of the columns.

The pages you move will show yellow check marks next to the page image.

Once you have reordered the pages in the correct order, scroll down and click "Save Changes".

Tip We recommend that you do not do not use the "QUICK REORDER" options. The process outlined above is more straightforward.
A status bar will appear while your pages are added to the book.

Note Depending on the number of pages you have reordered, the process can take a few moments to a few minuets. Do not click "Back" or "Refresh" while the reorder is taking place.
When completed, you will recieve a "Sequenced Book" confirmation message.


Video Guide: Book Content Model
| Tip |
|---|
Coming Soon! |